Our floors are without a doubt one of the biggest freaking projects we’ll ever take on in terms of magnitude, cost, and importance, so they’ll continue to consume our lives for the next several weeks. I’m not really sure what we were thinking, because despite our ambitiousness, every step along the way reminds us that we’re not experts and that hardwood flooring is not as easy to plan for, or install, as everyone in this weird blogosphere seems to make it look (if you made it look easy, I’m glaring at you). I like to think what we’re doing here is inspirational and woohoo maybe you’ll like it as much as we will when it’s done, but still, I would encourage you to proceed with caution at the thought of tearing out your floors and starting from scratch.
We second guess–triple guess, quadruple guess, 5-6-7-times-until-we’re-blue-in-the-face guess–almost every step of this process, if only to sanity check each other and talk through alternatives for the sake of the project. With this dialogue, we realize are so many things to consider, and its usually way beyond the simple questions, like how square your rooms are, or how to make sure your stair bullnose doesn’t go flinging off when you jump on it, and more along the lines of what the construction workers who built your living room steps were smoking, because holy shit, they are so not as even as they look. Also, don’t rely on your eyeballs for precise measurements.
So, things are coming along well, even if more slowly than we both expected, which is OK because not only do we have no intention of ever moving again, but we know that once this is done we will never lay hardwoods again.
Our flooring is the last big project before the baby arrives, and it may or may not be done by the time I deliver, but so what. I like to think that this baby is adjusted to hearing the sounds of the shop vac and circular saw, which hopefully works in our favor if there’s still stuff to do in the months after it’s here. Flooring is my nesting, apparently, and I haven’t been ceasing the opportunity to rage a bit with a drill or a multicutter.
What have we been up to? After having finished removing the carpet and oak hardwoods in the kid’s bedrooms, we laid underlayment boards (I went over this last Tuesday). Having the underlayment in place meant that the rooms were perfectly prepped for flooring. Because we spent all of last week encouraging our maple flooring to acclimate (it sort of looks like a rain dance, but on top of stacked flooring boxes), Pete shifted some of the inventory into the kid’s rooms. Some may see it as boxes in the way of a kid’s bed, a kid sees it as an amazing platformed play area with cavernous spaces for Legos to get trapped within.

We’re in a ranch home that is pretty consistently heated, so having the boards acclimating in their respective rooms isn’t as important as if we were flooring over two stories, where the second story might be set to stay 10-degrees warmer than the lower level or vice versa depending on how you manage your space. Moving some of the boxes into the bedrooms was merely an effort in clearing space in other places, so we could keep on working during the acclimation phase.
A big focus last Tuesday-Thursday was in the removal of the carpet in the hallway, where literally rolling the carpet as if it was one long burrito wrap was the easy part.
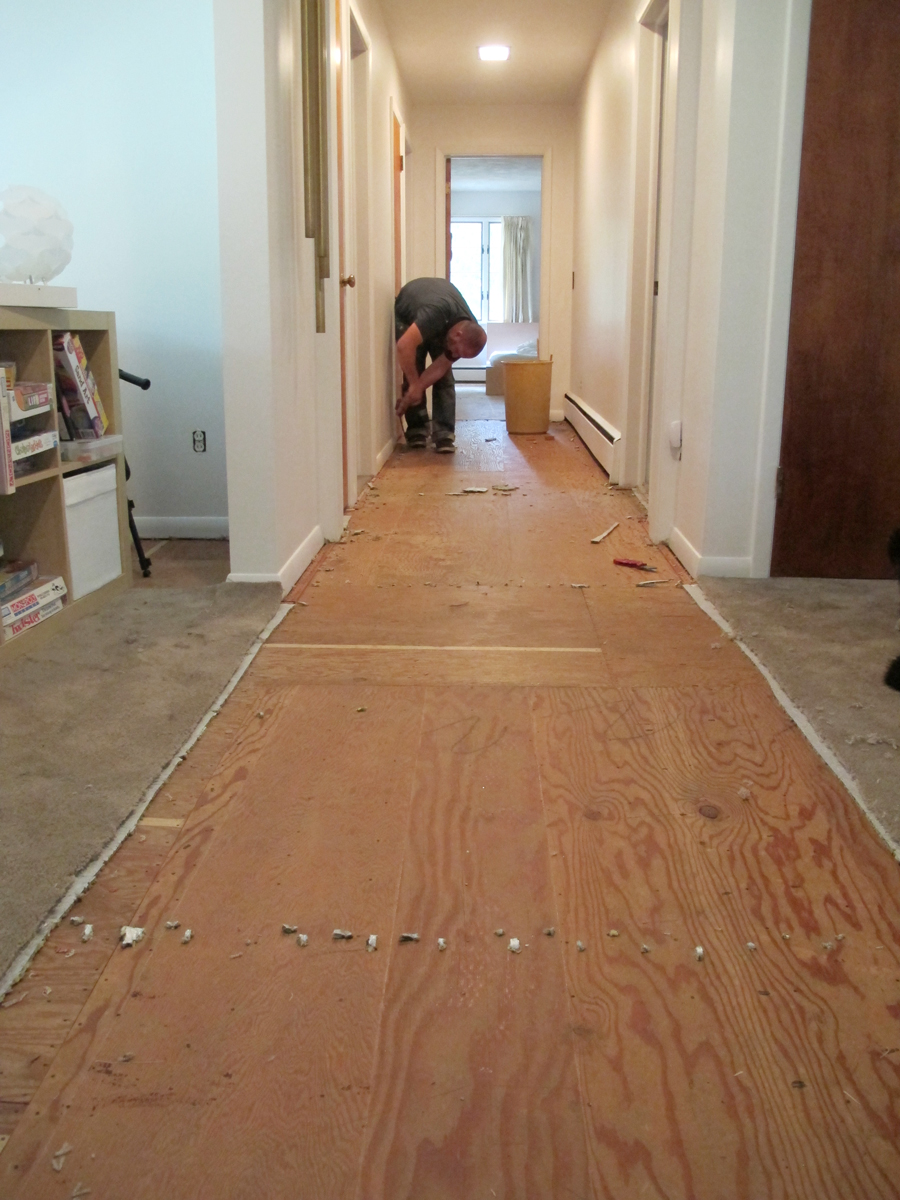
Clearing staples, tack strips, and nails didn’t take too long either. We worked our way right around to the front door.

We’ve found in the last 4 months of living here that we put a lot more wear on the floors than the older family who preceded us; where there were once no squeaks were suddenly loud ragers that couldn’t be avoided no matter where we stepped. We knew that there would be a lot of hallway repair once the carpets were removed, even considering that there were no oak floorboards that we’d need to be removing.
The scope of repair in this area wasn’t documented photographically, but literally hundreds of screws later (2.5″ ones to go into the joists and 1-1/4″ ones to eliminate some creaking between the subfloor and underlayment), you would think this old house was a new construction.
Trim has been coming out in every room and every closet in the house. We’re fortunate in one sense, because most of the baseboard in our home is actually the baseboard heating casements (it even extends along many walls where heating pipes don’t run to eliminate the stopping and starting of many more modern baseboard systems). Replacing the trim that does exist in full had been an obvious option upfront (I did some quick math and decided I’d rather indulge in Starbucks for the next 5 years than new wooden baseboards), but I really like the simplicity of the baseboard that already exists, and was happy to try and preserve and reinstall it.
Technique wise, we’ve got baseboard removal down to a science. Simple steps: Score the paint, and use a series of prybars to loosen the nails holding it in place until the whole board wiggles loose. Of course, this doesn’t mean that every piece came out easily; we’re running a 25% breakage rate, but have been able to successfully repair any damaged ones with some precise wood gluing, clamping, sanding, patching. The trim so far has appeared to be the most securely affixed detail in the house with 4″ nails used consistently every 6-12″. People who over-nail baseboard, you’re crazy, you must think it’s just going to fall right off the wall. Reality check, it never will. Use fewer nails, make everyone happy.

Side note: Appreciate the thinnest slices of trim ever between the door and the wall. The construction workers may not have been clear headed when building our staircase or over-nailing our trim, but their coping skills are right on.

Door jambs were a project that I decided to take on; the new flooring was going to sit higher than the old oak flooring and the carpeting, so the trim around every single door needed to be undercut, and that, as I’ve counted, includes 14 doors to date. I’ve got a system though, you see. On the finished wooden underlayment, I make a little sandwich of a slim piece of the foam underlayment and a small piece of the real maple flooring to actualize the real finished height of the new floor. I started initially by marking with pencil how much of the door jamb needed to be removed, so you could do that, but in the end I found it easiest to just use the wooden floorboard (upside down to prevent damaging the finished surface) as a guide for which to balance the multitool with wood cutting attachment. I was reminded both by Pete and by the team at Lumber Liquidators that I could have done this a lot faster had I just bought a $150 jamb saw, but, ahem, I saved $150 by jambing away my own way.

We finished the week off by giving the stairs some attention for the purposes of determining where our first floorboards needed to be nailed; doing this required us to break into the boxes and choose smaller boards to help guide some basic measurements. Reality time, not all of the boards are beautiful. I’ll get to that in a future post.

All in all, we’re making good progress towards having the hallway and kid’s bedrooms done within the course of this week. Check back for some more progress!


Comment
Emily:
Loved your post. Especially, the parts about what were the construction workers smoking, it’s never as easy as they make it look, and second, third, etc guessing each step. Over the years of DIY projects, I’ve experienced all of the above.
Anyway, I was researching how to cut the jambs and have decided to buy a multipurpose tool with cutting attachment. I was already thinking of getting one to help in repairing the bottom of my garage door, which will now have to wait as the boss (wife) just decided that I need to put down flooring in the dining room because the cat’s peed all over the carpet and it smells like hell.
The great thing: THEY say I should be able to do it in a day. RIGHT!!!