Would you have guessed that I salvaged this cabinet? I’m so glad I saw some potential in it and took the time to refinish the metal surface. It’s the perfect storage unit for my entryway!
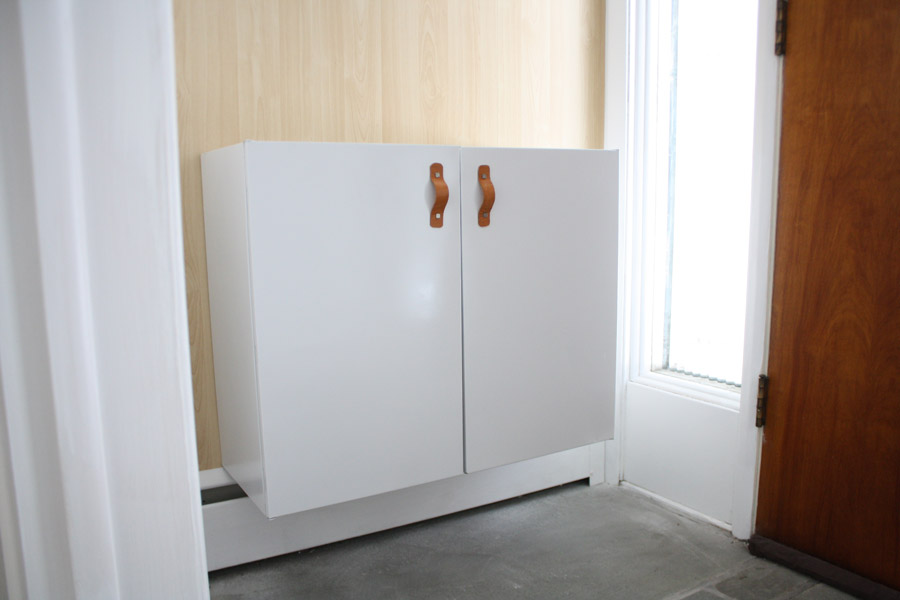
Old, metal kitchen cabinets are restored to create storage in our entryway.
Installing floating cabinets is easy to do by yourself with a little planning and a few simple tools:
- measuring tape
- scrap wood
- level
- pencil or marker
- drill and drill bits
- toggle bolts (if no studs)
- 2″ screws
1. Calculate Mounting Height
Start by planning how high on the wall the cabinets should be mounted.
These particular cabinets are 24″ tall. I had to clear 8″ of baseboard heating to achieve a flush floating install. To give a little extra clearance, I measured that the top of the cabinets would be 33″ off the ground.
2. Create a Framework to Lift the Cabinets
If you don’t have an extra set of hands, creating a tiny scaffolding to hold your cabinets at the correct height is essential to an even installation. I used pieces of scrap wood for mine, but use what works: a stack of books, boxes, whatever. Once the cabinets are positioned on the frame, check to make sure they are perfectly level.

Create a strong framework (tiny scaffolding) to hold your floating cabinets in position for install.
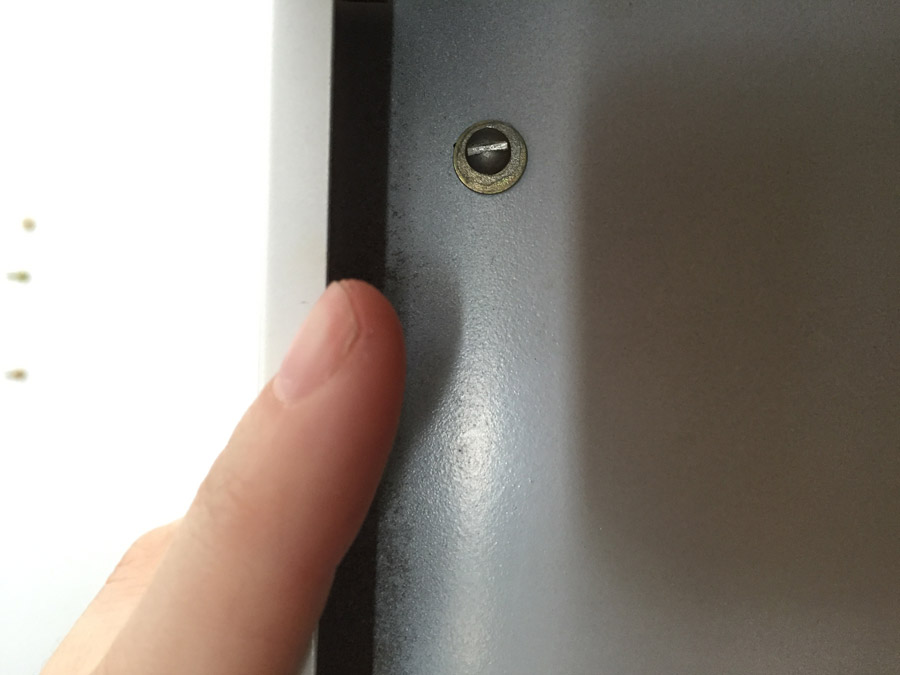
3. Mark Holes for Drilling
Once the cabinets are where you want them to be, open your cabinet doors. You’ll be able to find holes in the back wall from where the cabinet was previously hung. There are likely two at the top and two at the bottom.
No holes? OK, mark your own! You can use a masonry drill bit to bore through the metal cabinet.
Find the holes? Poke through them with a pencil or marker to transfer the location of those holes onto the wall.
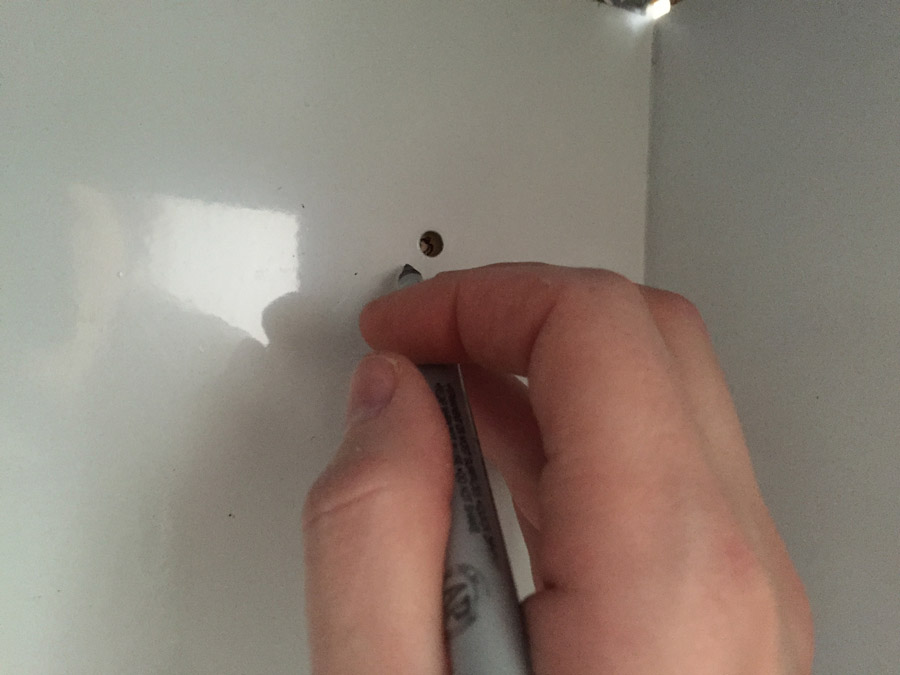
Use a marker or pencil to transfer the placement of the holes to the wall.
4. Move the Cabinets and Predrill the Wall
With the cabinet holes transferred to the wall, lift the cabinets off the tiny scaffolding and put them to the side.
Use the drill and a 1/8″ drill bit to see if any of those marked holes will allow you to hit a stud in the wall. If you’re lucky enough to align with wall studs, you’re in luck. You can use the 2″ screws to attach the cabinet to the studs. Odds are though, with 4 holes in each cabinet, you’re going to feel the drill bit pop through the drywall into the open air between studs.
To secure the floating cabinet without mounting into studs, use toggle bolts. (Side note: If you’re curious about that wallpaper, I share more about it in a separate post.)
Check the hole requirements of your toggle bolts to determine how big the predrilled hole needs to be to fit the toggle. Expand the holes you made with the 1/8″ bit so each hole is the correct size.

Predrill through the marked holes to see if you hit a stud.
5. Put the Cabinets Back on the Framework
With the holes predrilled, get the cabinets back upright on the scaffolding. This time, keep them two inches from the wall but lined up so the holes in the cabinet align with the predrilled holes in the wall.
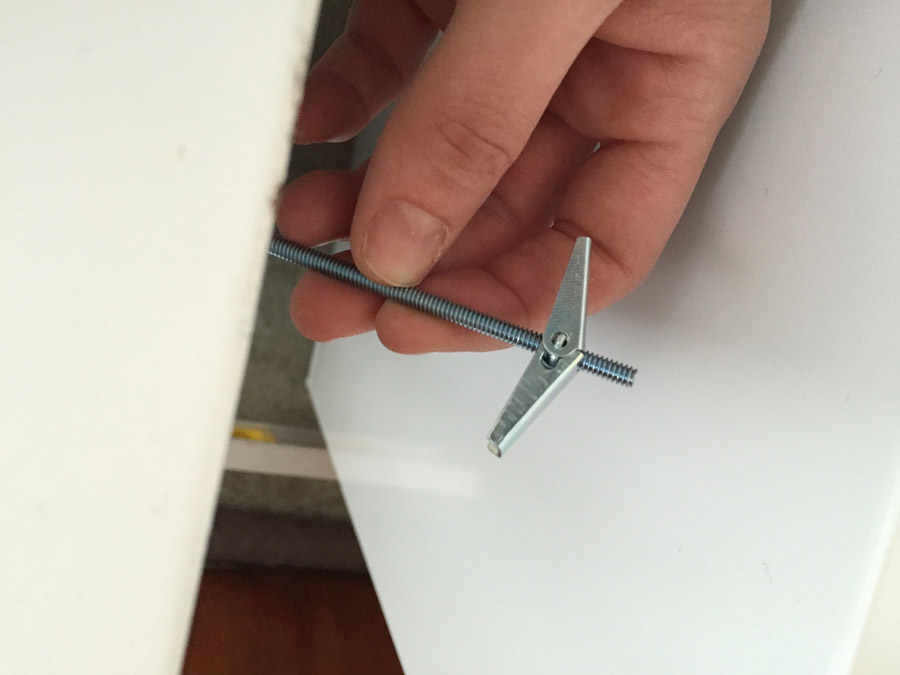
6. Position the Bolts
Toggle bolts are the ultimate in bolts; at least, I’m a huge fan. You might also know them as Anchor Bolts, Molly Bolts, or Butterfly anchors. I use them often for heavy items because they’re very strong, easy to install, and affordable. As the name suggests, the nut that threads onto the bolt is actually a toggle mechanism that expands once pushed behind the wall and bites into the backside of the drywall, locking in place when the bolt is tightened.
Use a toggle bolt/anchor bolt/molly bolt/butterfly anchor to support the weight of a cabinet if you can’t hit a wall stud.
Each of my cabinets required four toggle bolts, which I calculated as being able to hold up to 200+ pounds – very extreme. Definitely overkill for my family’s hats, scarves, and mittens that will be stored here.
All of the bolts should be threaded at the same time before you push any of the toggles into the holes. This way, you can align your cabinet on the base, and fold and extend the tip of each toggle bolt into the respective hole. Go slowly, it’ll all work out.

Toggle bolts folded as they enter the predrilled holes in the wall.
7. Tighten the Toggle Bolts and Level the Cabinet
Once the toggles are folded and inserted into the drywall, push the cabinet back against the wall and “pop” the bolts through, one by one. You’ll know if they’ve popped open, because you won’t be able to pull them back out if you tug on the bolts inside the cabinet.
Quick tips:
- To secure each toggle bolt, it’s easiest to create some tension by pulling outwards on the end of the bolt as you use a drill to tighten it. The spinning bolt will tighten against the toggle inside the wall.
- Tighten each bolt 90% of the way, and then pause to make sure your cabinet is still level on the wall. This is a good time to make adjustments because the loose bolts will still have a little play if you need to re-level.
- Don’t over-tighten, because you might just bust the whole toggle back out through the drywall.
- Consider using washers between the head of the bolt, and the inside of the cabinet; in hindsight, I should have done this so that the bolt had something extra to tighten against, not just against the back of the cabinet, which as soft metals do, did dimple.
Tighten the bolts completely one at a time (still watching level) until the cabinet is secured.
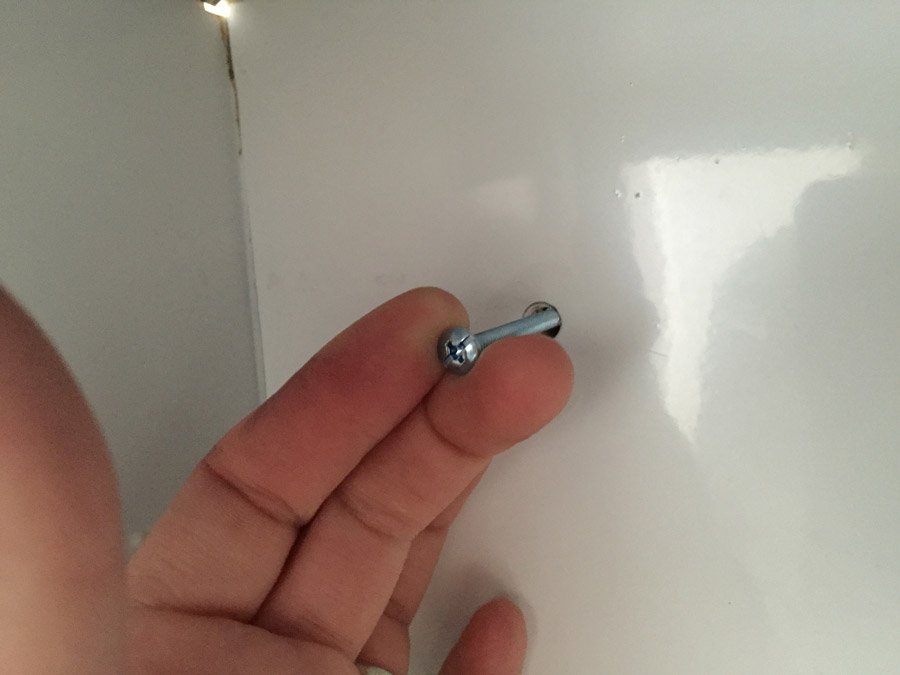
Fingers create tension on an anchor bolt as it is tightened.
I was attaching two cabinets side-by-side, so I was also monitoring the spacing between the two cabinets very closely to one another to limit the gap space between cabinets.

Use a level throughout the project to make sure that the cabinet remains level.
How do you reduce the size of the gap between side-by-side cabinets?
In my case, the gap wasn’t more than a millimeter, but I wanted the two units to look like a single cabinet. If you have a small gap, use the drill bit to create a hole between the inside adjacent walls. You can use a small bolt and washers to cinch the two cabinets together.
A small bolt and washer connect the two cabinets together just inside the doors.
8. Install Handles
Reinstall the original knobs or replace them with something new. I made and installed custom leather door pulls. find a custom top to unite the two cabinets from above, and enjoy your new storage potential.

Add custom leather handles.
9. Add a Custom Top
Last, create a custom top to unite the two cabinets from above. I used a piece of maple and retrofitted it to the dimensions of the vintage metal cabinets. Enjoy your new storage potential!

This post was originally published on DIY Network’s blog Made + Remade in March 2015.


3 Comments
Hi Emily,
Thanks for your post. I have metal kitchen cabinets that I would like to have powder coated. Any suggestions?
Thank you,
Cathy
No idea on how to powder coat with an at-home system, but our spray paint has been durable for a long time!
Great article! Upcycling is an eco-friendly approach to home improvement, and installing a floating cabinet is a great way to incorporate upcycled materials while also creating functional storage space. By repurposing materials like wood pallets or old cabinets, you can create a unique and stylish piece that suits your home’s decor. When installing a floating cabinet, it’s important to ensure that it is securely mounted to the wall, using appropriate hardware and techniques. This will help to prevent accidents and ensure that your new storage solution lasts for years to come.