This post was originally published on DIY Network’s blog Made + Remade in July 2012.
As if we didn’t have all the time in the world during the winter months to focus on home improvement inside the home, this time of year seems like a good time to reorganize closets and do essential spring-into-summer cleaning clear outs. I guess it’s mostly the nationwide-July-steam-out that makes me want to get rid of any clothing of substance and warmth, while I try and stay hydrated and stand directly in front of the AC window unit doing a rain dance so I don’t have to leave the dehumidified house to water the grass. Right, it’s been that hot, and you know it.
Whether it be in the form of simple wooden brackets and store-bought 1×12′s, or custom shelving, completing a closet overhaul doesn’t have to take that much time or money.
Most of the closets in my house are significantly lacking in the custom-storage arena, but I’m always discovering simple ways to improve the overall situation (and importantly, making room for more stuff that we inevitably seem to be accumulating).
Take advantage of vertical space:
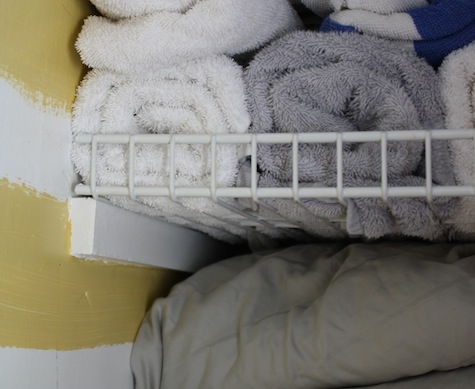
If you have open space towards the top of your closet, consider this <$10 improvement. Screw simple boards to the studs of the closet walls and the back wall, and then lay a flat board over the top. This makeshift shelf can be attached with screws from the top, and then painted and caulked for a more-finished look. Use your judgement on how long to make it, keeping in mind that a >48″ span might end up wanting to bow when it’s loaded up with all of your holiday sweaters. The good thing, however, is that you can make it deep as your closet allows and really maximize that space.

Another way to maximize vertical space is to add a second clothing rod.
We’re in the real-life process of retrofitting a kids’ closet to make more room for hanging clothes. By adding a second rod at a lower height, we doubled the space for hanging clothing. You can do it yourself: Buy a simple dowel at the home improvement store and mount it on top of those same closet framing pieces I mentioned earlier in this post. It doesn’t have to be a permanent addition to the closet; mine’s only attached temporarily using metal plumbing attachments, but until she grows into longer clothes, it doubles the space we have available for hung shirts, pants, and dresses. In the picture, it’s still only primed (as I said, a real-life work-in-progress):

Invest in brackets.
Deep closet? Find some brackets that you like, and install them along the back wall of the closet. Much like taking advantage of the open space at the top of the closet, hiding your bins of seasonal clothes way in the back can be an easy way to keep them out of the way and safely stored. My own closets aren’t deep enough for such a luxury, but I do love a good bracket and shelf, like how I make use of them as open storage in my kitchen and dining room.
Make the most of the back of your door.
Don’t dismiss the back of the door as a good place to store extra odds and ends. There are over-the-door attachments for everything you can imagine, from shoe storage, purse storage, and necktie storage, to units that cleanly store your iron and ironing boards, and dirty laundry.

You might have to search around a little bit for exactly what you’re looking for, but I found good selections at Bed Bath & Beyond, local Dollar Stores, and amazon.com.


Leave A Reply