(Update a decade later: This cutie is still hanging around my house. Flatty! We love him.)
Boo! Here’s a very, very spooky DIY project to entice your Halloween spirit. And by spooky, I mean very, very cute. And squishy. Hauntingly adorable?
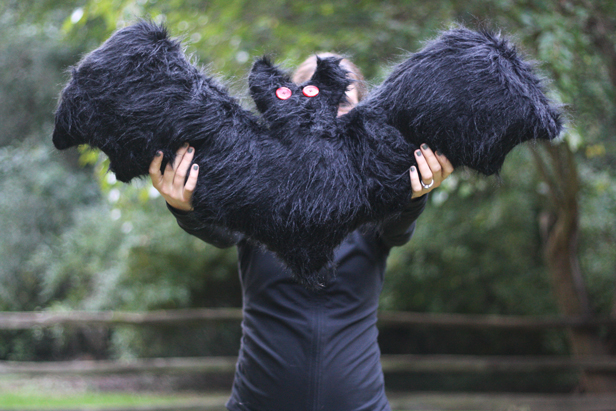
A decorative bat throw pillow.
A spooky pillow like this silly thing is a creative DIY accent you would consider adorning your sofa with during the month of October. Or, the kind of thing a child with a love for the creepy might find herself wanting to snuggle with nightly. What I’m insinuating is that ours will probably not go into holiday storage (2023: He hasn’t). We named him Flatty (Flat Batty) — and he’s family.
Keep on reading to see how to make your own “spooky” Halloween decor for your own #spookyspaces!
You’ll need:
- Grizzly craft fur (or other black fabric)
- Tissue paper for templating
- Straight pins
- Scissors
- Sewing machine/thread
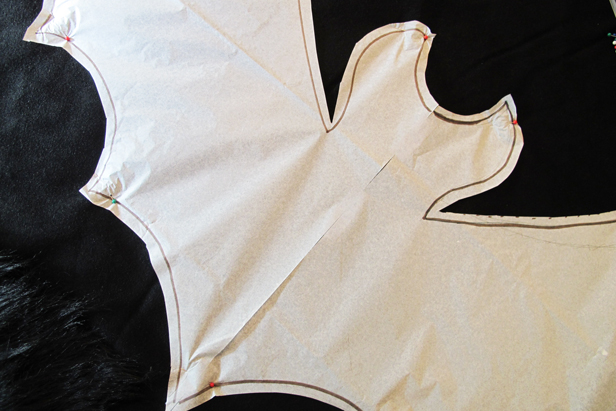
1. Make a Template
Begin by making a template. I found it easiest to make the template a mirror image, so that the bat would be symmetrical. Do the same by sketching half of a bat onto one sheet of paper (I used tissue paper for its transparency) and then laying a second sheet over it to draw over the lines that show through the paper.

Bat pillow template on tissue paper.
2. Trim the Tissue Template
Trim the outlined tissue paper template, leaving a 1/4″-1/2″ seam allowance on all sides.

Trim the template with a seam allowance.
3. Secure the Template
Tape the template halves together, and pin the edges to the fabric. I folded the yard of fabric so that the right (furry) side of the fabric was sandwiched in the center and the wrong side was facing out. This way, I could pin and trim both sides of the pillow at once.
Use straight pins to secure the template to the fabric.
4. Trim the Fabric
Using fabric scissors, trim along the outside of the template.

Trim the pillow fabric to match the template.
5. Sew Along the Edge
With the pins still in place, tear away the tissue paper template. Sew along the edge of the fabric, about 1/4″-1/2″ from the edge based on the seam allowance you provided with your template. Before you sew it completely, remember that you’re going to have to turn the bat inside out and stuff it. Leave 5-6″ of the edge unsewn.

Sew along the edge of the pillow.
6. Turn the Pillow Right-Side Out
Flip the bat right (furry) side out. So cute. I melt with happiness (and fear, so scary).

Flip the fabric before adding stuffing.
7. Attach Eyes (Optional)
Leave your bat sans eyeballs if you want — a plain silhouette pillow is perfectly adorable and acceptable as seasonal decor. But if you want to add more detail (and scariness!), consider red button eyes.

Add eyes for your pillow bar (or don’t).
It’s easiest to sew on the button eyes before you stuff the bat. Use a simple needle and thread and sew on one side. Make sure the buttons are aligned. (You want a haunting bat, not a googly-eyed one.)

Red eyes make for a cute (creepy) bat face.
9. Fill with Stuffing
Fill it up! I used 32 ounces of polyester fill to give the bat some life.

Add stuffing into the pillow before stitching it closed.
10. Stitch the Pillow Closed
Sew along the opening with a needle and thread to close up the pillow.

Sew the opening closed.
Let your kids enjoy this cute not-so-spooky bat this Halloween!

An adorable (v. creepy) bat pillow for Halloween decor.
This post was originally published on DIY Network’s blog Made + Remade in October 2013 in conjunction with JoAnn Fabrics.


Leave A Reply