This post was originally published on DIY Network’s blog Made + Remade in December 2013.
As we grow dangerously close to Christmas, we’ve been busily checking fun last-minute gift projects off the list for friends and family, and scouring for vibrant holiday inspiration for next week’s celebrations. With kids to help decorate for the season, I thought it would be fun to have them help out with a little craft — a sweet thumbprint ornament that can serve as a gift, or even a gift topper tied to the ribbons, that the grandmas and grandpas and aunts and uncles can enjoy and remember for years to come.

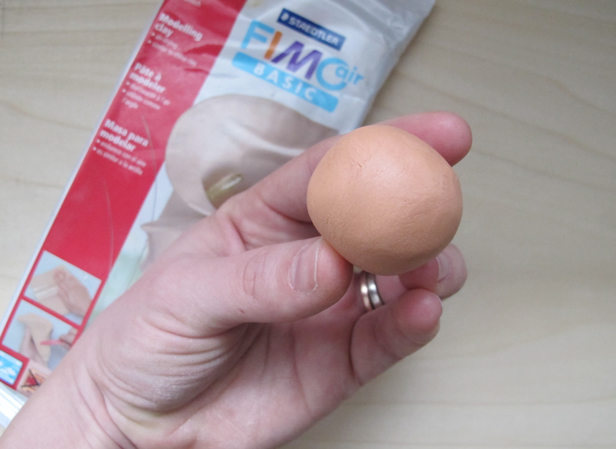
Step 1
Form a small ball of clay, about the size of a large marble or a golf ball. I used air-dry FIMO product for this project, though the oven-bake products work just as well and could speed up the total time.
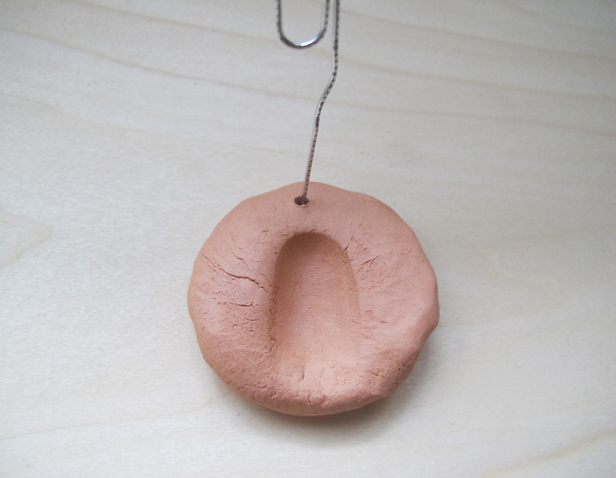
Step 2
Have your child firmly smush his or her thumbprint into the clay. They’ll like this part, I promise.

Step 3
While the clay is still malleable, unfurl a metal paperclip and use it to poke a hole through the top of the ornament for the hook, and to etch in the backside of the ornament your child’s name and the year to document when it was made.
Step 4
Allow the ornament to dry per product specifications (whether it be air-dry or oven-baked).
Step 5
Once dried, consider the finishing touches. I like to paint mine, and while this year I went the gold or silver spray paint route, last year I picked up craft paint colors and let our daughter paint the ornaments herself. It’s the perfect annual tradition.
Run a length of floral wire through the hole you bore into the top of the ornament (this is also a handy product if you need a reliable way to secure heavy or fragile tree ornaments). If it’s a gift, wrap it up, and gift it to your family before the holiday so they can display it on the tree proudly.


Leave A Reply