We moved the girls into a bedroom together a few months ago to make space for the new baby; they’re busy reveling in their new bunk bed, pretzel linens, rad useless throw pillows, soaking it all up. I’ve been working hard to make the room their space, and as excited as I am at our ability to have made a room suitable for both a toddler and a 10-year old, I’m putting on the breaks before oversharing it here; I think those days are over.
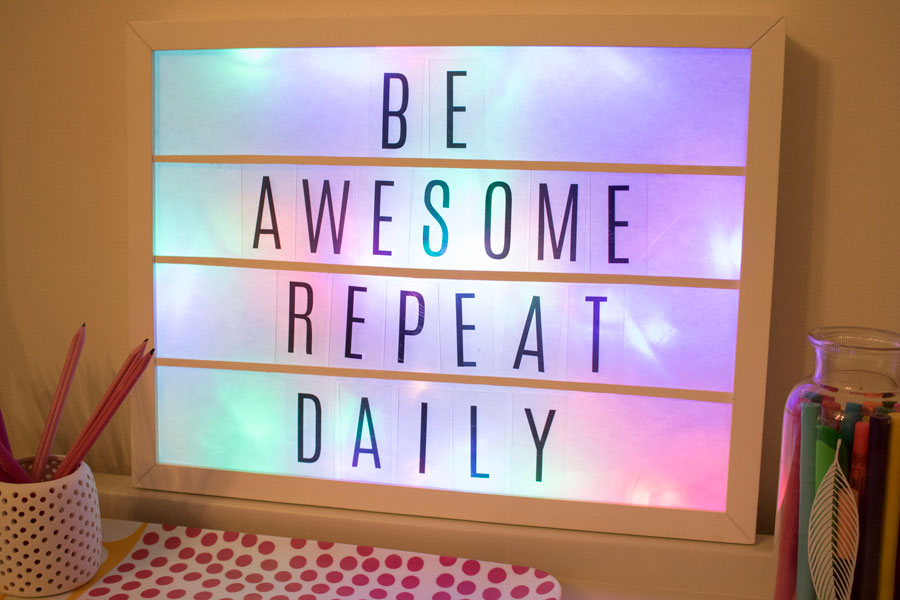
What I am thrilled to overshare is this little project I did for them, a marquee-style lightbox that offers them creativity, and a sweet little decorative glow that’s fun during the day and rocks as a nightlight at bedtime.
Truth be told, you can purchase a light box from the Heidi Swapp collection, and they’re not too pricy either. For $30-40 you can find them at Michael’s stores, and on Amazon too (that’s an affiliate link guys – and if you click it I promise I’ll use the pennies received towards more Heidi Swapp letters).
If and when you don’t want to buy one, here’s what I used to make mine:
- a length of thin balsa wood
- ruler
- utility blade
- hot glue (or clear silicone)
- tape
- LED string lights (white or rainbow, go crazy)
- a piece of white paper
- and most importantly, a kid’s artwork shadowbox frame (kind of like the L’il DaVinci®, but I found my 11×14 product at Target for $20). Any kind of shadowbox frame will work, obviously, but I do like the convenience of hinges.
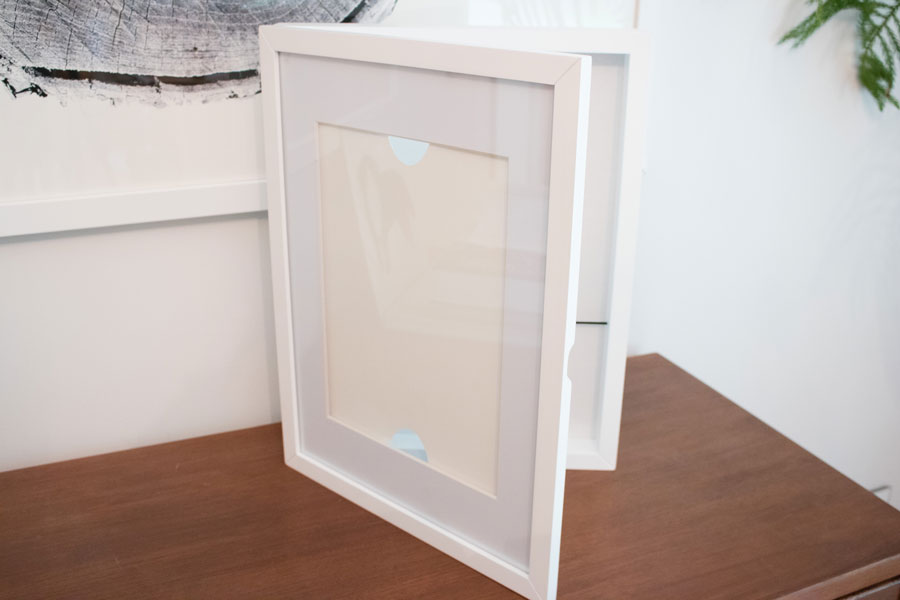
First, remove any matting and line the inside of the glass with a piece of white paper, cut to size. That’s going to obscure the light produced by the bulbs. You might think that a matte contact paper would do the trick – I did – but it turns out I don’t have the patience for contact paper, and even though I did a pretty good job, there were lots of micro-air bubbles that made the end result look imperfect. Ordinary printer paper is unwaveringly simple.

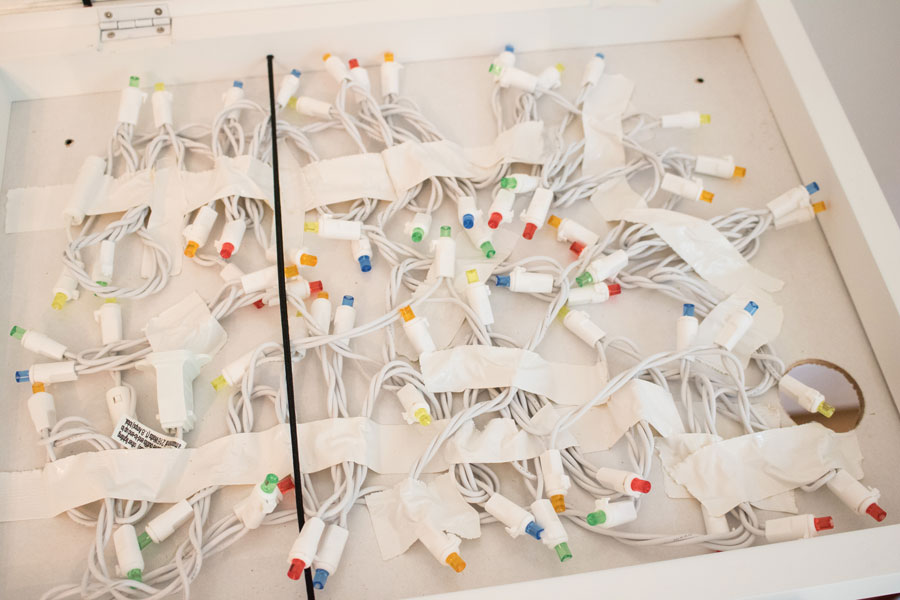
Now it’s time to install the LED light strand. I used icicle lights because in general the strands are shorter, and the light bulbs are a bit more compacted.Less wire, more light, am I making that up? Maybe. Anyways, white wire promises to show less than black wire, and the little lights produce less heat than ordinary strand lights. Use some strong tape (I used white crafty duct tape) to attach the strands inside the back of the shadowbox frame. Use a hole saw (if you have one) or an utility blade to cut an opening in the back panel of the frame. It needs to be large enough for the plug to emerge.
I purchased and used this pack of letters for my project; be prepared to purchase 2 if you want to be able to spell anything that’s beyond the annoyingly motivational “dream love laugh.” To the developer who comes up with an app that helps you make phrases out of limited 50 letters, there’s your million dollar opportunity.
Depending on the size of your frame, you may be able to stack 3-4 rows of text. You should also know that the letters are super easy to trim, say, if you need to take 1/8″ off either end. Don’t expect that the Heidi Swapp letters designed for the coordinating light box will fit perfectly in your DIY model.

I chose and used a thin piece of balsa wood for the next part of the project, putting division barriers in place so that the letters had grooves in which to sit. Balsa wood is super easy to work with – I used a straight edge and an utility knife to cut 3 little strips.
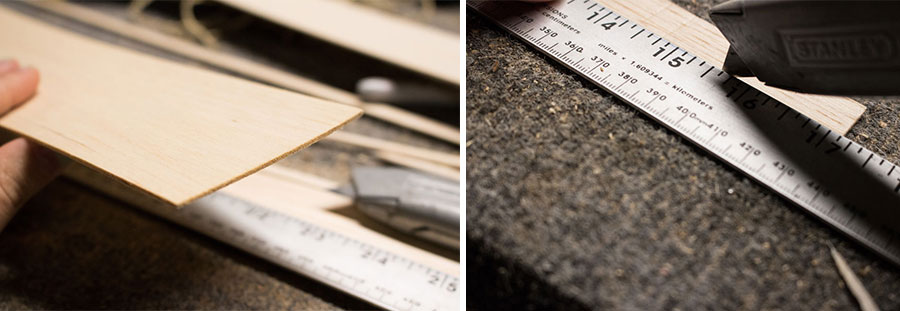
I painted the strips white, allowed it to dry, and then measured out the spacing. Determining where the wooden strips need to fit is pretty simple. The height of the glass divided by 3 or 4, depending on how many rows you’re vying to create. I applied a piece of clear tape up and down the left and right sides of the frame, and then used a marker atop the tape to mark my spacing. For goodness sake, do a dry run to make sure the fit and measurements are right on with your letters.
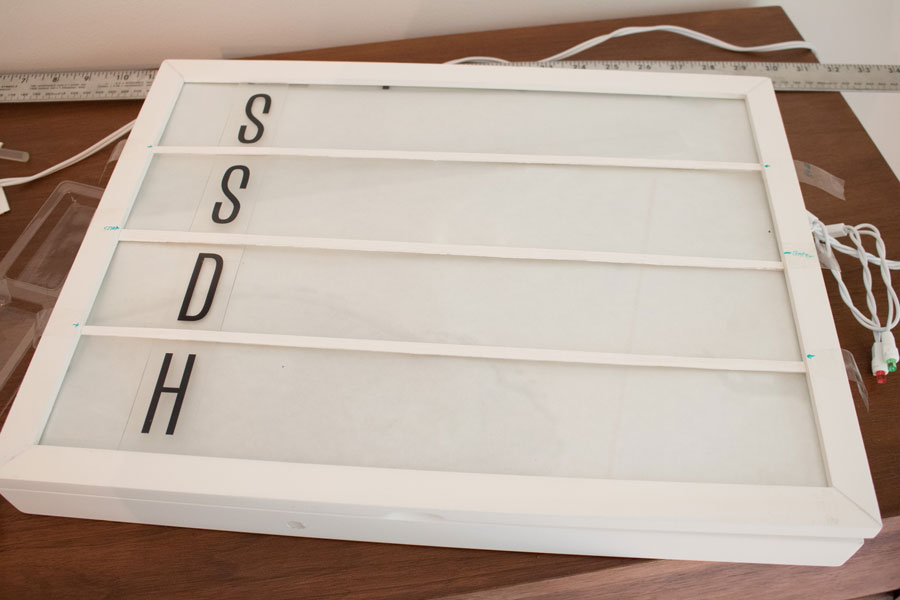
Hot glue is an easy way to adhere the strips to the glass, although in complete honesty I might recommend you try a bead of clear silicone, which doesn’t harden quite as fast as hot glue. Slow down and do it right. You’ll need the piece of balsa to sit at least a millimeter off of the glass because the letters need to “wedge” behind them to remain upright and in position, and either hot glue or silicone would remain a bit thick, as opposed to falling flat under the pressures of gravity.

Once it’s assembled, it’s as easy as positioning your phrase and plugging it in. (This phrase, I should note, was scribed by my cousin on a sticky note and taped to the back of Julia’s door a few years ago. We left it there, a little reminder of her happiness and positivity. Thanks Becky!)

Plug it in, and get creative with those messages, kiddos.


Comment
This is a great project. Seems very do-able and affordable for the average person (aka me!).
And as much as I would love to see the room you’ve created for them, I think it’s awesome that you’re respecting their privacy and not oversharing. Way to go!