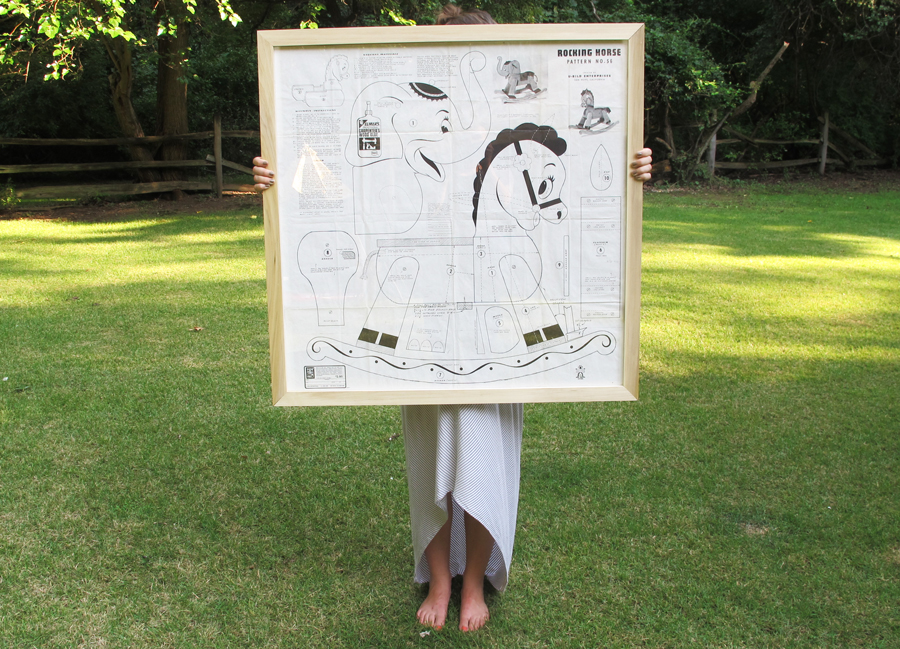
It shall now be confessed that two years ago, I stole/borrowed/assumed ownership of a vintage rocking horse (and rocking elephant) pattern that I found discarded of in Pete’s parents dumpster during the great Labor Day clear out of ’11.
We were still just dating, so it didn’t make sense for me at the time to proclaim with excitement, probably while screaming, THIS IS THE PERFECT ADDITION TO OUR FUTURE BABY’S BEDROOM. Cue the awkward crickets.
We’re cool now obviously, so I can be outwardly excited about having hid this away (and saving it from the dump). We didn’t even know then that we’d end up buying an awesomely cool mid-century home that happens to be the perfect backdrop for such a pattern, it’s as if it was an omen.
The pattern itself scales big at 34.5″ x 34.5″, and if you’ve ever researched buying picture frames that size, you’ll know that they can get mighty expensive, fast. Making it myself would be less expensive (not to mention more customized for color since I was filtering through search results looking for something that was modern and clean-lined, not ornate, and light wood, as opposed to something stained or painted or plastic).
I picked out premium 1″ x 2″ poplar boards at the store (a total of 13.3-feet sold around 90-cents per linear foot for about $12 total). Poplar is what I used when assembling what I still consider the prettiest thing I’ve ever made, and it made sense to bring the light shade into the nursery too, since we hope to have light hardwoods before the kid’s arrival, and the crib has light wood accents on it too.
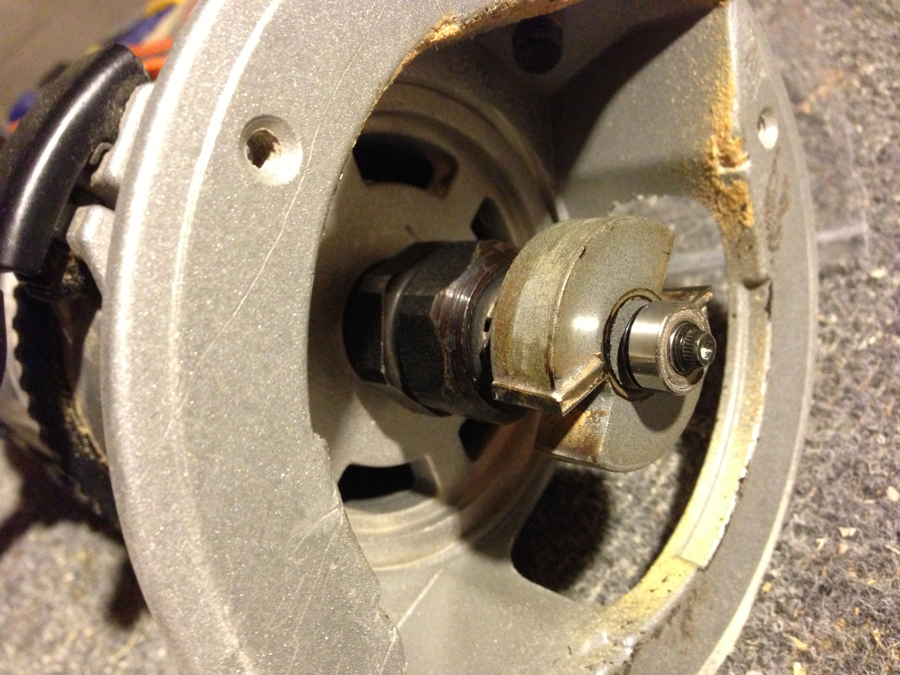
At home, I mitered each of the boards using the chop saw for accuracy, and then brought out the big gun, the router and with the rabbet bit. Each board, cut and routed, measures 33-3/4″ (the inner edge of the miter), by 34-5/8″ (the outer edge of the rabbet), by 35-3/4″ (the outer edge of the frame).

I was actually a little disappointed to find that the 1/2″ bit didn’t fit through the sub base of the Makita palm router that I bought last spring… I’ve been eagerly awaiting the opportunity to try that tool out. Instead, I just used the bit in the larger, more cumbersome, Porter Cable router, set to a 3/8″ depth.
The boards are narrower than I could use with the biscuit joiner, so I went the easy route and assembled the frame corners together with some light wood glue and four flat corner brackets. To ensure a really tight connection, you’ll have the best luck if you secure one side of the bracket first, and then use the leverage in the screws on the other half of the wood so that they contribute to pulling the bracket taut when the screws are in.

When all four corners were attached, I clamped all four corners directly to the workbench to ensure that the whole frame would be flat and square (wood glue dries fast, and really does help with the occasional tendency of the frame to warp even if the brackets are doing the heavy work).

I bought plexiglass for the frame, and seeing as I needed a piece over 30″ in diameter, I had to buy a 36″ x 48″ sheet at the local hardware store. It accounted for about 75% of the cost of the total project, but they cut it on site so I didn’t have to worry about snapping it the wrong way at home. And $45 all-in for this project is still a lot less than the pre-made frames I was pricing out (a-gasp), most of which would have required a mat board border too, which I was hoping to avoid with this specific piece.
For the backing, I recycled a piece of remnant packaging from what our crib was delivered in–its weight and sturdiness similar to classic backer board–and I cut smaller pieces of it (with wood screws) as makeshift clips to hold the print, plexi, and the backer tightly in place.

We haven’t hung the finished piece yet; we’re still far from figuring out the room’s layout and other decor elements, but it’s good to have this done and ready for when we are.


7 Comments
I love the design of this artwork and I love the story even more! It’s going to be so sweet.
:)
That is completely adorable! Totally worth squirreling it away and awkward cricket.
Oh my goodness. My grandmother HAS THAT ROCKING HORSE. I have always wanted to “tag” it (it’s a thing we do. It’s morbid, yes. We claim ownership before the owner has…passed on) but she says it will go to auction so all of the grandkids can have a chance. I would LOVE to build my own! Oh, to get my hands on those plans…
Awww, I wish I could get them to you, Kimberley! Think there’s a way to have it printed to scale if I get you a hi-res photo?
Emily, you have made my day! Yes, our Staples does prints to scale. I would be thrilled at the chance to make this!
That pattern is killer! Great find!
Emily