This post was originally published on DIY Network’s blog Made + Remade in September 2013.
Let’s talk tablets, and their cool accessory, the tablet stand. I’ve been eying plenty of styles sold at plenty of price points, but what we needed was something versatile, something that could transition from the kitchen, where I make at least one dinner a week from a website-hosted recipe, to the living room, where it’s nice to have it propped up on the coffee table. When it came right down to it, I realized that making my own model would be easy (and free, thanks to a pretty piece of reclaimed wood that I already had), so that’s what I set out to do.

Step 1
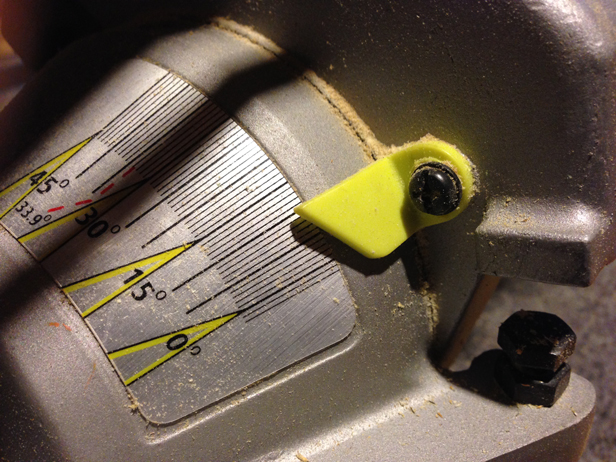
Determine the angle at which your device is most useful, and set your chop saw angle accordingly. For me with my iPad, it was between 10 to 15 degrees.
Step 2
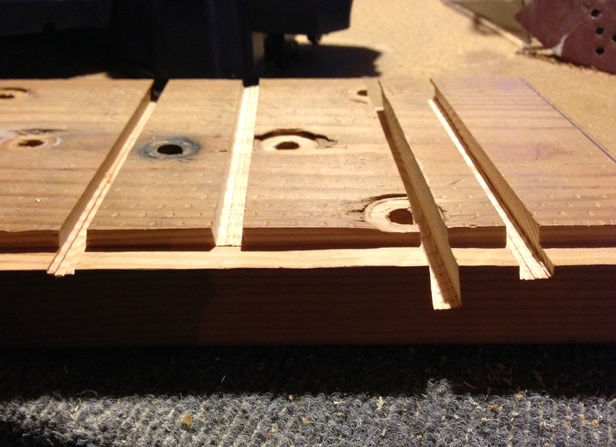
Find a piece of scrap wood and do a lot of test cuts to test the angle you’ve chosen, and also test the depth of the cut. Use the blade like a dado to shave away the area, creating enough space for your device to rest within.
Step 3
Once you’re satisfied with the test cuts, bring in your real wood supply. If you have special reclaimed wood like I do, be sure to angle and position your piece so that the natural weathered wood edge is exposed and will be the front of the holder. This is less important if you’re working with new lumber, like a poplar or pine, or a rare wood that you can find at certain lumber stores. Make cuts repeatedly.

Step 4
Be extra diligent in trying to make your dado cuts smooth, with as few ridges in the base of your cut as possible.

Step 5
With the angled cut made, test it with your product. Once the fit is perfect, trim your board to length. Mine is approximately 7″ deep, creating a very sturdy base beneath the iPad.

Step 6
Enjoy your stabilized tablet and its pretty, reclaimed base!


Leave A Reply