This post was originally published on DIY Network’s blog Made + Remade in June 2014.

Those magnetic refrigerator letters are almost as iconic as it gets when it comes to childhood playthings. They’re an educational must-have around the house, but if you don’t want to go the classic route, you can make your own from any number of materials. Consider letters and numbers cut from card stock, or even laminated construction paper. Or get out the sewing machine and craft handmade material letters. Felt boards are popular DIY projects these days too, because the felt easily and temporarily adheres to itself, and the possibilities are endless with what words and creative scenarios can play out on a wall of felt.
I like the classic plastic magnetic lettering, but decided to create my own set using oven-bake clay and small magnets. It’s easy and inexpensive, and is a project your kids will love to help with.
Step 1
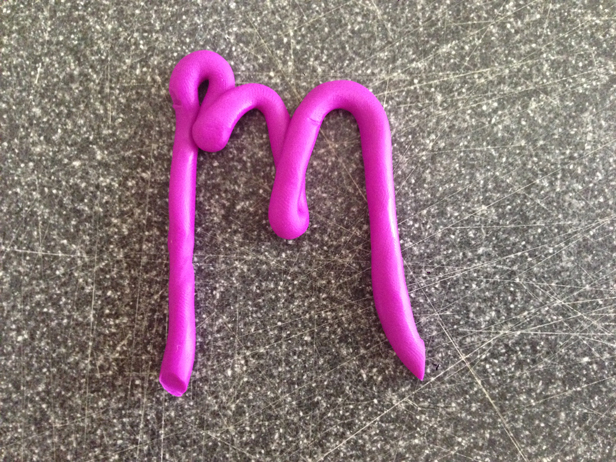
With the colors of your choosing, roll the clay into a narrow rope. Mine shown here is about 3/8″ wide. Form every letter of the alphabet, and remember to make duplicates of most letters, especially vowels.
Step 2
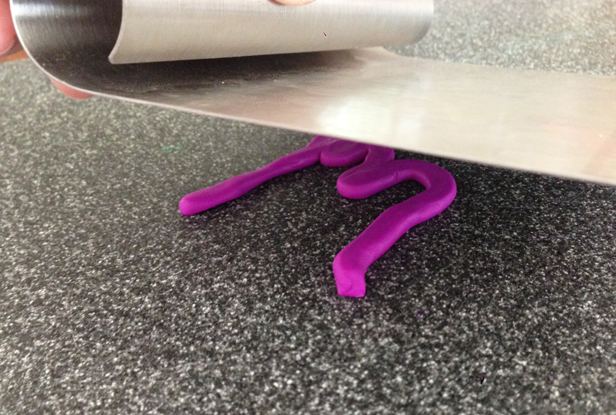
Now, you could leave your letters left rope-like, or you could choose to flatten them so they appear a little more like scripted bubble letters. So sweet. I used a stainless kitchen dough cutter to mash mine flat.
Step 3
If you used an oven-bake clay (as opposed to air dry clay!), put it in the oven for 12 minutes at 275-degrees fahrenheit. You can put them in the oven on a baking sheet.
Step 4
Hot glue magnets to the back of your letters once they have cooled from being in the oven.

Step 5
Allow to dry, and let the kids have fun with them! A DIY project that you won’t mind displaying on the fridge every day.


Leave A Reply