This post was originally published on DIY Network’s blog Made + Remade in August 2013.
What goes better with a custom birthday banner than a custom birthday banner card?
Nothing. The answer is nothing.

See how I made the stamp used on this sweet birthday card, and then go card-makin’-crazy, or stationery-crazy, or custom-invite-crazy, and have a jolly old crafty time.
Step 1
Whatever it is that you’re announcing or celebrating, start by designing a card. You can do this easily by setting up an 8.5″ x 11″ blank template in Microsoft Word, InDesign, or, like me, Photoshop. Choose a font that is pre-installed on your computer, or find a cool, free one to download online. The one I used is called Blackout, and I love it. Print it out on your home computer (most models can accommodate 100-lb. stock if you’re looking for something heavier than ordinary printer paper).

Step 2
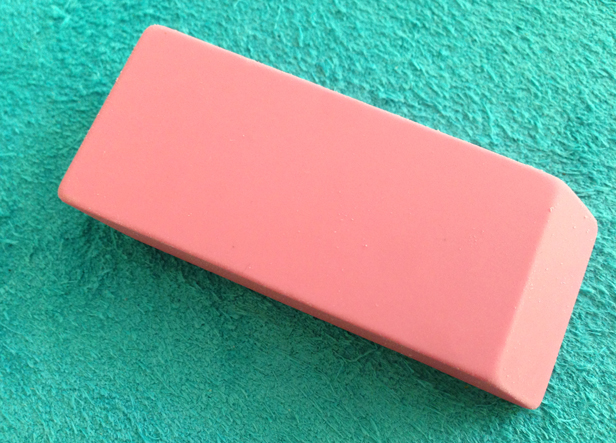
A custom banner stamp is quick and easy to make. Consider using an inexpensive eraser as your material of choice!
Step 3
Draw your banner design on the stamp with a pencil. Use a linoleum cutter to trim out the negative part of the design. You can find a lino cutter at your local art or craft store (and the one on Amazon that I linked to there has lots of different tip attachments for gouging both wide and precise fields).

Step 4
What you just made there is a stamp, and the firm eraser material will work well on a traditional stamp pad. If you’re looking for something more outside the box (or have a specific color in mind for your crafty banner details), turn to craft paint, like I did.

Step 5
Test your stamp on scrap paper first to determine how much ink or paint you’ll need and how often to reapply, and to make certain that all of the negative area has been properly carved away.

Step 6
Let it dry, and enjoy your finished card. If you kept your design on the 8.5″ x 11″ paper that you printed on, buy a few standard A9 envelopes and drop it in the mail!


Leave A Reply