This post was originally published on DIY Network’s blog Made + Remade in June 2015.
When’s the last time you cleaned your dryer vent? I’m going to wager that it’s been awhile – A year? 5 years? Never?
When you purchase a clothing dryer, you identify several things (like where’s the lint trap, and what’s that setting that keeps my jeans from becoming floods?), but salespeople and appliance installation experts rarely go on to emphasize the importance of cleaning the vents. With a dryer vent cleaning system, this is totally in the realm of DIY.

A clean dryer vent is critical, as it reduces the risk of fire. We all know to remove the lint from the trap after every load, but similarly, when a dryer vent begins to line with lint, that lint builds upon itself very quickly, narrowing or closing the air path from the appliance to the exterior. A clear vent not only reduces fire risks, but it increases the lifespan of your dryer and also contributes to faster dry time and therefore lower energy bills.
If it’s been a long while since you paid attention to your dryer vent, you might want to start by looking at the material itself. Thin foil and plastic vents are flimsy, more likely to tear, and more likely to fill with lint in their ridges and bends. Rigid vents (heavy-weight metal and straight) and semi-rigid vents (heavy-weight but flexible) are highly recommended (and mandated by code in some areas), but they still require routine cleaning.

It’s easy to clean your dryer vents yourself, so go ahead, put it on your calendar twice a year. Buy an all-in-one kit that includes the tools you need to get the job done (it costs about $30) and you’ll have it for the rest of your life. Align scheduled cleanings with the solstices when you also change your smoke alarm batteries, and make a habit of maintaining your appliances.

Ready to learn how it’s done? Learn how to clean your dryer vent with the below tutorial.
Step 1
Unplug the dryer, and pull the appliance away from the wall. Gas lines, assuming they aren’t in your way, can remain connected.

Step 2
Detach the vent from the base of the dryer by loosening the clamp with a screw driver. When the vent disconnects and is loose, you’re likely to see some lint at the connection. Use a soft brush or rag to gently clean the area.

Step 3
There are two ways you can clean the vent – inside to outside, or outside to inside. In this case, I connected the Wet/Dry Vacuum to the vent end located behind the dryer. The kit I own has a plastic connector which conveniently attaches the end of the vacuum onto the end of the vent. The vacuum will remain attached to the vent to collect the lint. Don’t turn on the vacuum yet!

Step 4
Outside, locate the vent cap on your exterior wall, and assemble your cleaning extension rods. A 4-inch soft bristled brush attaches to the end of the flexible rods, and will be threaded into the vent cap. The rods and brush can be manually maneuvered once inside the vent, but if you have a cordless drill, the rods may fit into the end. Spinning the rods and bristles within the vent will generate more friction and agitation to loosen lint more effectively.

Step 5
Use a (cute, pink) binder clip to open the vent before you get started. Thread the rods and brush into the vent cap, and extend the rod all the way down. If you hit significant resistance, you may be lucky enough to encounter an animal nest (hopefully it’s vacant). The kit may come with a hook just for this purpose, so you can latch onto the blockage and remove it before cleaning.

If the rods move easily down the length of the vent, you can also turn the Wet/Dry Vacuum on to begin to extract loose lint particles. Cleaning the vent itself takes all of 30 seconds. If you feel any friction as you move the rods up and down the vent, that may be lint build-up. Keep “scratching” at the area with the spinning brush until the brush moves smoothly.
Important to remember: If the hinged vent door is not pinched open when you turn on the vacuum, the door will create a suction inside the vent and crumple any of your semi-rigid venting, which poses more safety concerns.
Step 6
When you have moved the spinning brush sufficiently along the inside of the pipe, you can pull the rods back out through the vent cap, and turn off the vacuum. Use the end of the vacuum to remove any lint and debris that settled behind the dryer (don’t tell me you dust back there on the regular).

Step 7
Back at the dryer, take this opportunity to use a smaller bristled brush to loosen any lint build-up in the trap itself. Hold the vacuum hose at the site to eliminate debris.

Step 8
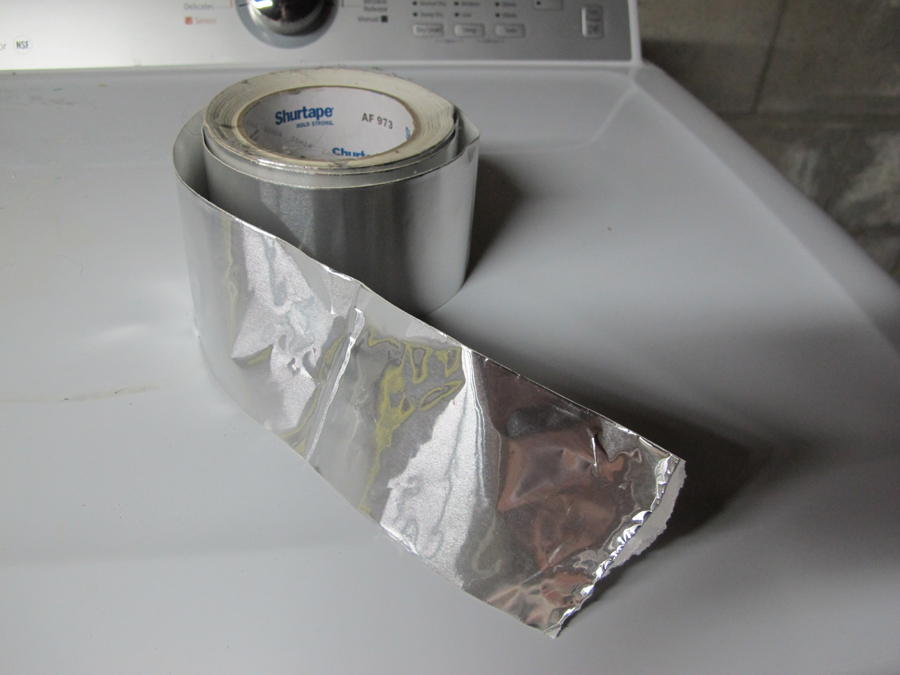
You’re done! Reconnect the vent hose to the back of the dryer. Consider adding metal foil duct tape to the vent connections as reinforcement. Note that the metal duct tape is for HVAC systems, and is not to be confused with the all-purpose silvery duct “duck” tape that we all know and love. Metal duct tape is another one of those things that you can sometimes find priced low at garage sales – homeowners are likely to buy a whole roll for a venting project, but only use a few feet of it. It doesn’t go bad, so pick up a roll secondhand if you can.


Comment
Cleaning out a dryer vent may not be glamorous work but you rose to the challenge and for that you deserve a victory lap.