This post was originally published on DIY Network’s blog Made + Remade in September 2014.
Party time! I’m always coming across photos of clever photo backdrops that people use as a substitute for a photo booth at parties and events. The resulting gallery of photos is always so charming! The following tutorial shows you how to create the wooden framework for a freestanding backdrop, and give ideas for making your own custom canvas.

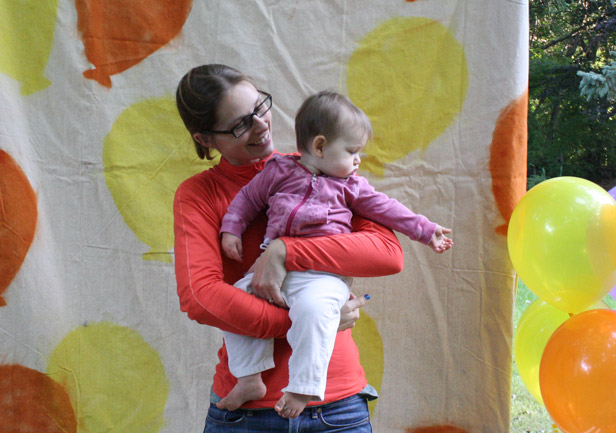
This particular design works perfectly when you have a kid who adores balloons more than any other tangible object, but the options are endless when it comes to customizing your own design. The finished frame is 5 feet wide by 8 feet tall, making it great for friends and families big and small.
Give it a try at your next shin-dig, and let me know how your guests liked it!
Step 1
Start by cutting your seven 2×4 boards to length:
- Four boards will remain the 8-foot length – no cuts required.
- Two boards need to be cut in half, so that you are left with four 48-inch lengths.
- The last board, cut to 5 feet in length.
Step 2
It’s easiest to paint the boards before it’s assembled; use a roller or a brush to prime and paint the boards (use a paint and primer-in-one to save a step and ensure better coverage of the raw wood).
Step 3
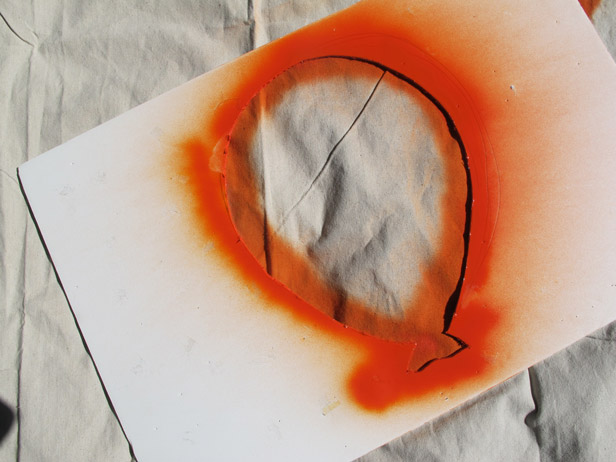
While the paint dries, prepare your template. Draw the shape of the balloon onto a piece of 2×3 foam core board, and use an X-Acto or utility blade to cut it out.

Step 4
Lay your 6 x 9-foot canvas flat on the ground in a well-ventilated area. Running it through the dryer will help to loosen the creases from being packaged, and it will continue to become less wrinkly once it hangs freely. Iron before decorating if you are particularly adverse to creases.

Step 5
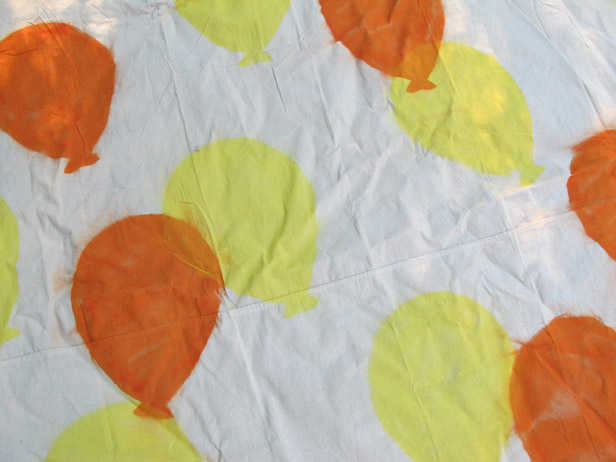
Position your template over the flat canvas – as you work, be mindful of the positioning and orientation of each balloon so that they appear a little scattered, as if they’re free-falling. Spray the outer edge of the balloon shape first to establish the clean edge (make sure you don’t overspray above or below the template) and then fill in the middle of the design.
Step 6
Repeat like crazy, and let the first color dry.

Step 7
Add a second color, and third and fourth if you wish.
Step 8
By this point, the painted 2×4 boards are probably dry and ready to assemble. Start by sandwiching two 8-foot boards around one end of the 5-foot board. Use an L-square to ensure positioning, and screw the boards together. Note: I included either carriage bolts or wood screws for this project. You can use two of the 6-inch carriage bolts at each connection to go through all three layers of wood, or use four 3-inch screws, two attaching from the front, and two attaching from the back. Repeat this same process on the other end of the 5-foot board, using the two remaining 8-foot boards.

Step 9
The frame at this point can stand 8 feet tall. You’ll need to attach feet at the bottom to provide proper stability, so to do that, sandwich two of the four 4-foot boards around each vertical post and screw or bolt into place. (If you can lay your frame horizontally onto a set of sawhorses, do it. It’s easiest to do this step while the structure is flat and stable to prevent tipping.)

When you stand it upright, it should be straight and square. It will be heavy, and at 5-feet wide, it’s nearly too wide to carry comfortably yourself, so find a helping hand.
Step 10
Stand your frame upright. With the feet in place, it should have no desire to tip forward or backward.

Step 11
Attaching the canvas to the finished structure can be done in a number of ways: Screw or staple it in place for a taut fit. With clamps, it’s easy to break the whole unit down and store it for a future party, where you can customize another canvas for just a few dollars and reuse the frame again.

Step 12
Set up a camera on a tripod positioned at the backdrop for your next party, and encourage your friends and family to click away! And iron or steam that thing – don’t be a slob. :)


Leave A Reply