It’s that time of the business cycle again. Business card design time. Time for more calling cards, or business-bloggy-calling-cards, as I so eloquently referred to my first batch that was made of cardboard and plain white stock.
This second batch was decidedly still going to be DIY’ed. Because I’m watching the wallet, and because if you can do something that will stand out enough all by yourself, why bother outsourcing?
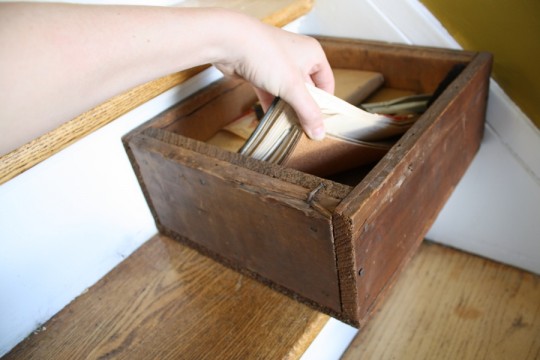
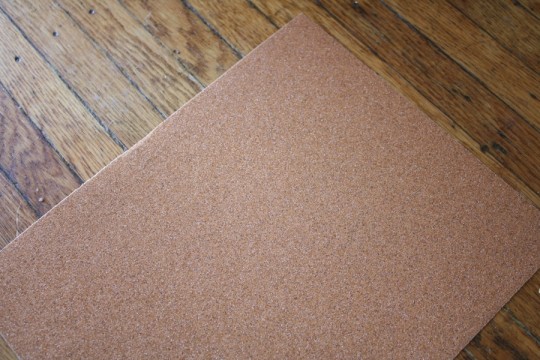
The idea for this new batch occurred to me a few weeks ago, when I found a huge box of sandpaper in my grandparent’s attic (I find all kinds of good things up there). I took some of the sandpaper partially because I figured it’s one of those products you always seem to want on hand (and Grandpa conveniently had preserved sheets of varying grit), but also because it was being stored in this radical, hardwood, vintage box that I really, really wanted to put to good use (somewhere, someday, it’s not about that box yet).
I’ve had it sitting on my stair, right where I placed it when I brought it home, and just this week when I finally had depleted my original business card supply, I thought that that “free” paper (of varying grit) might make for an interesting business card material.
And I think the whole idea of DIY’ing my business cards insinuates handiness, DIY-ness, and resourcefulness. I’m pretty much all about all three of those things, if you haven’t noticed yet.
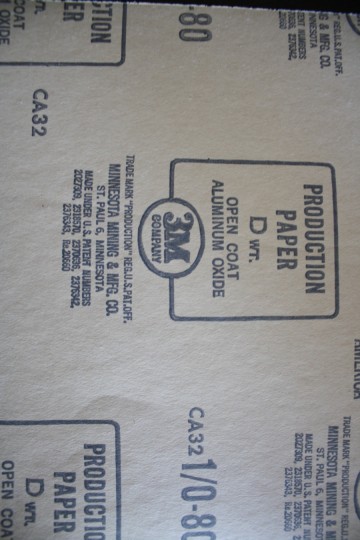
Check out that old 3M logo. Frustratingly, WordPress won’t let me rotate it counterclockwise:
So I picked a couple of sheets to cut down into simple 2″x3.5″ business card size (a little smaller than the original creative that was more so hacked to a random size).
Just like the first batch, I employed the awesome stamp that Pete designed for me and had produced by the folks at The Stamp Maker. (I just had a good experience, I’m not getting perked for the shout-out to the company.)
While the stamp was wet, I sprinkled on some of the purple embossing powder that was leftover from the first go-around (which Pete still believes to be more like a thermography- than embossing-process).
The end result of my embossing efforts are just OK. I think my stamp is a little too thick to handle the expansion of the powder, rendering it hard to read:
So after I did a few embossed versions (5 to be exact, hoping for a cure to the illegibility I suppose), but I did more with simple plain black ink. And yes, I experimented with stamping on the rough side too; didn’t work out too well:
 So the most legible ones will go to my wallet; and the illegible ones will be stored for future sanding projects, so no loss.
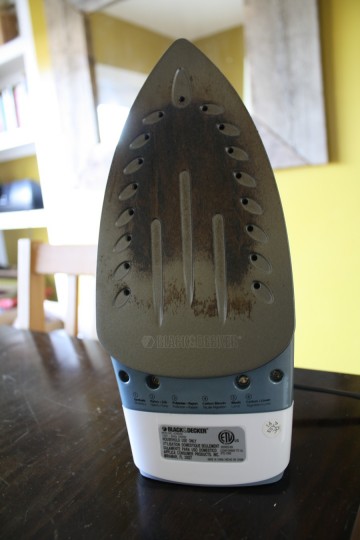
On a different note, only related because I used an iron to cure the embossing powder, how in the world do I clean an iron that looks like this? Can I even clean it? Or do I just buy new?
I can’t even use it on clothes anymore (I probably ironed something I shouldn’t have, and then followed it up by ironing 40 sweaters which left behind traces of themselves). Tips appreciated!


8 Comments
Iron-Off! I’ve ruined many an iron, but sometimes you can clean the residue off with a product called Iron-Off. Be forewarned: it stinks like burning popcorn. You may not be able to get the iron back to clothes-quality, but having two separate irons (one clothes, one craft) works for me.
You’re a savior. I will look for this product because I’m sure I’ll get lots of use out of it. Sidenote: I finished this post and took that photo last night. This morning? Iron would turn on but not heat up. I was going to use the tip of it to correct a crease on my shirt. I think it’s revolting.
It wouldn’t heat up? That’s a really not-good sign. I have also had an iron short out while it was just sitting there on the ironing board. Time to find the user’s manual.
Yikes. I left it unplugged at home for the day. I’ll find that owner’s manual and the manufacturer’s warranty.
I love those! I think you should also stamp some paint chips from Lowe’s/Home Depot/wherever. But only if you don’t mind me doing the same whenver I get a stamp for my blog. So far I just have the Google Me cards I told you about last time, and Robert hands them out like crazy.
Oooh, paint chips. That’s a very good idea. I’m liking the crafty projects I’m seeing lately made out of paint chips (framed art, garland, etc).
I love those projects, too! I so need to order a stamp so I can start making paint chip cards!
Like I said in the post, I totally recommend the company I used. It was fast and cheap compared to some of the local print vendors I quoted with. And search for coupon codes; I saved 20% which doesn’t hurt either.