This post was originally published on DIY Network’s blog Made + Remade in October 2015.
Looking for a fresh take on the Fall favorite, caramel apples? Bookmark this tutorial for your next party!
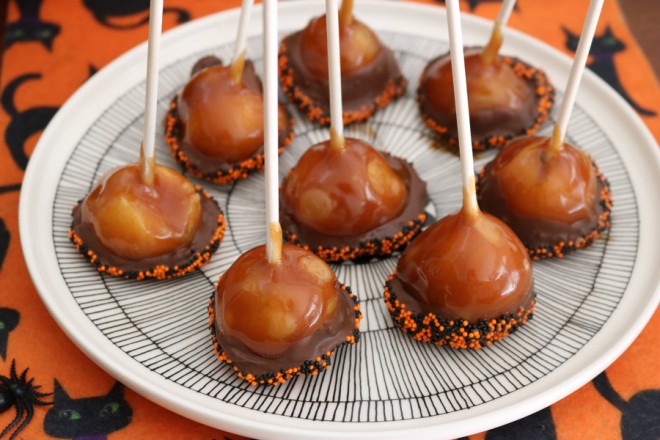
Candy apples are a delight, but miniature candy apples are the perfect, bite-size snack for your next dessert platter. Top them with a layer of chocolate and seasonally-appropriate sprinkles, and you’ve got yourself a party favorite.

The recipe below incorporates a few tips and tricks that I learned along the way, and links you towards a recipe for the best, homemade caramel for dipping apples (I’ll never go back).
Step 1
Begin by whipping up a batch of the best caramel in the world (I followed this tutorial from Food Network). You’ll need a candy thermometer, simple ingredients, and some patience. Stoves can heat differently, so use the thermometer and monitor the brew carefully as it turns into a rich, amber color. You may not see this in 8-10 minutes as outlined in the recipe – I witnessed the quick color transformation in 13 minutes on my gas range.

Step 2
The caramel will need to cool for a bit once it is mixed, which leaves you enough time to peel and prep your mini apples for dipping.

Step 3
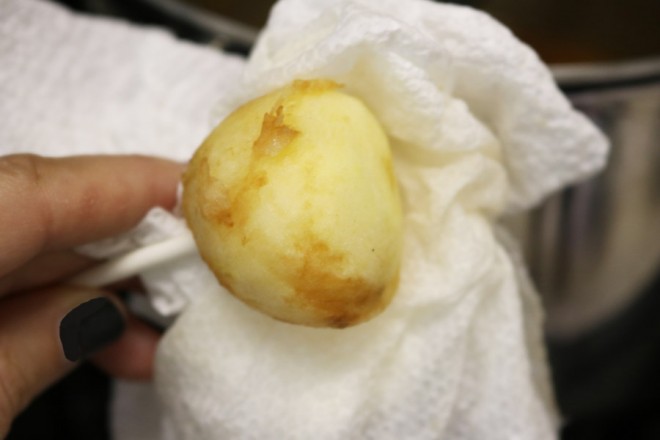
Use a melon baller to extract balls of apple. I was able to get 5-6 balls from each large apple. Put sticks into each apple, and put all of your apples in the freezer.

Step 4
The reason I put the apples in the freezer briefly is because dipping a chilled apple in caramel will help to cure the hot caramel faster. The other important tip I figured out along the way, is that you should squeeze the cold apple with a paper towel to remove excess surface moisture.
Step 5
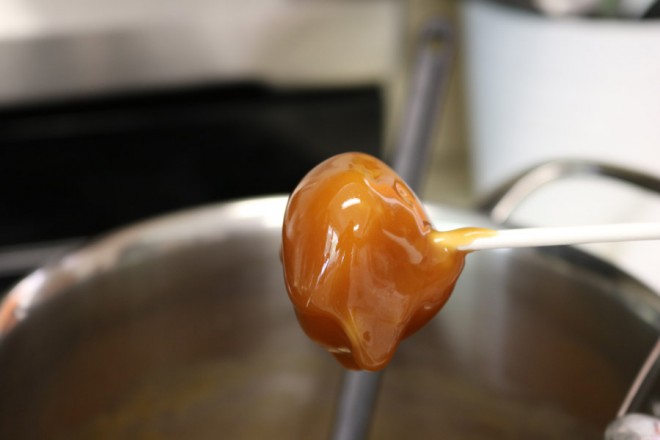
Dip the apple into the caramel when the caramel is about 170-degrees. Use a spatula to help coat if necessary, and be sure to coat the end of the stick too, because a complete seal of caramel will help the apple to last longer without its peel.

Step 6
You will find that some excess caramel wants to drip off. This is completely normal, let gravity do its thing, and twirl the apple slowly to help create an even coat.
Step 7
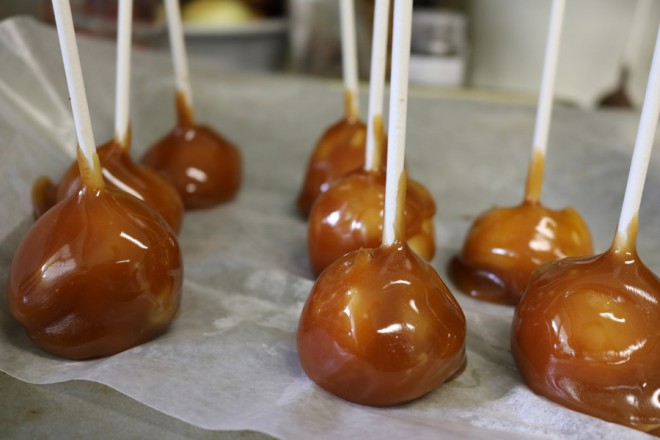
As you complete each apple, lay it on a piece of wax paper on a cookie sheet to continue to cure. Put the whole cookie sheet back into the refrigerator to help the caramel cure faster.
Step 8
At this point, you could be done. Call it a day. Head off to your party with a plate of adorable, tiny caramel apple bites. If you want to continue to experiment, follow this lead!
Melt chocolate wafers in a double boiler.

Step 9
Dip the chilled caramel apples into the chocolate (fully, or only half-way), and then dip again into a dish of sprinkles for Halloween flair. Place them on a clean sheet of wax paper, on a baking tray.

Step 10
Return the tray of caramel apples to the refrigerator to set. Ready to serve!


Leave A Reply